![Inchy Dark.png]](https://info.bookvending.com/hs-fs/hubfs/Inchy%20Dark.png?height=50&name=Inchy%20Dark.png)
Here's what is needed to create your design:
- Invoice Number or PF#
- Contact Info
- High Resolution Logo or mascot (.png, .jpg or vector like .eps, .ai file)
Step 1: Pick a Design
There are multiple design options available for you to choose from. Simply click on Dav’Inchy Designs in the menu above to begin!
If you don't find something you like, no worries! Our design team is here to help bring your vision to life. Simply provide us with your logo, text, and preferred colors, and Dav’Inchy will work with you to create a customized design that meets your needs. Additionally, you can browse through our gallery for inspiration and ideas to help guide the design process. We are dedicated to ensuring that you are satisfied with the final product, and are here to assist every step of the way.
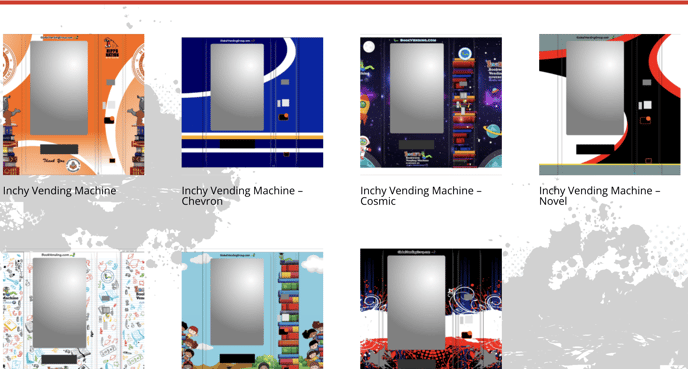
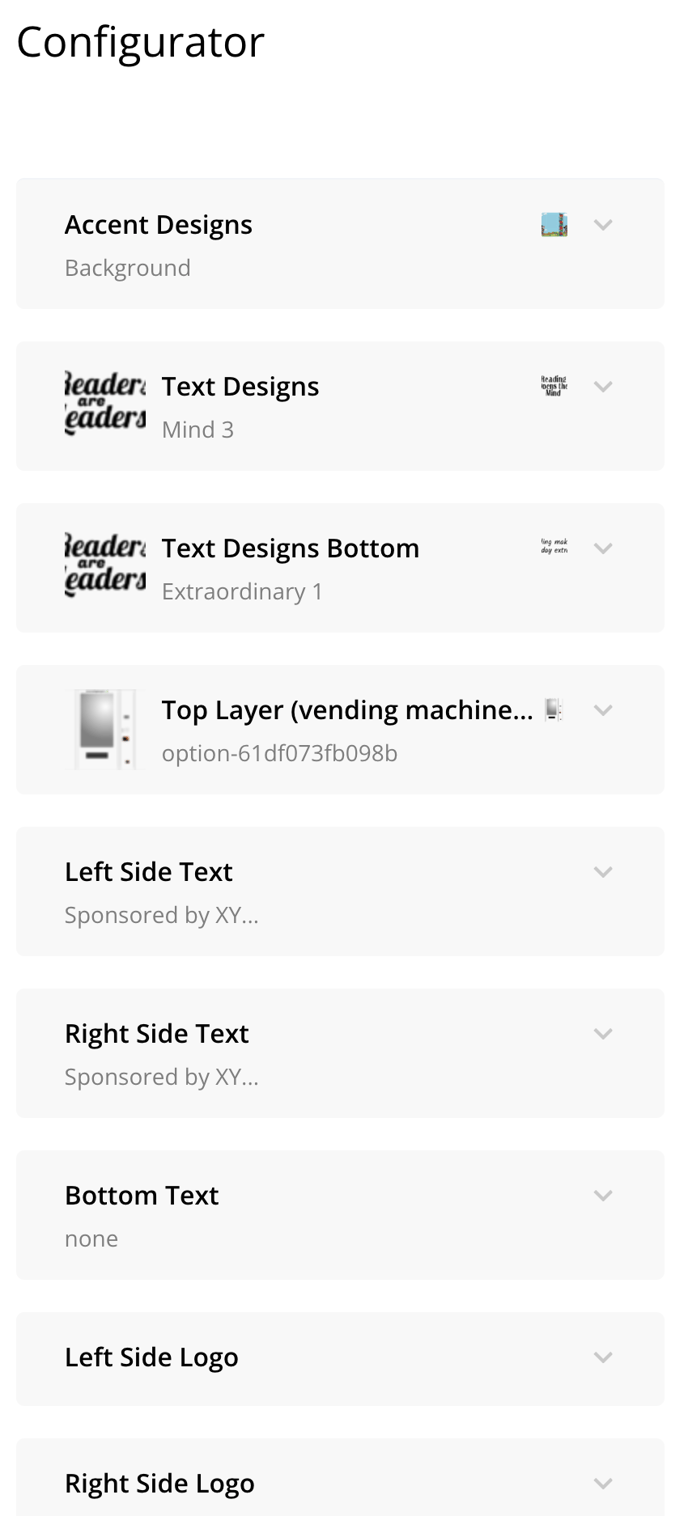
Step 2: Explore the Configurator
- Add background colors
- Effects
- Stock text designs
- Add your own text
- Add a logo or mascot
Don't see your exact colors?
Select the colors closest to your requirements. Leave a note when submitting your design and request that our design team match your specific colors.
Step 3: Format Your Design
Note: If your design is not finalized, simply leave a note at checkout.
Our design team will center logos, remove backgrounds, and adjust colors as needed.
Step 4: What happens at checkout and after?